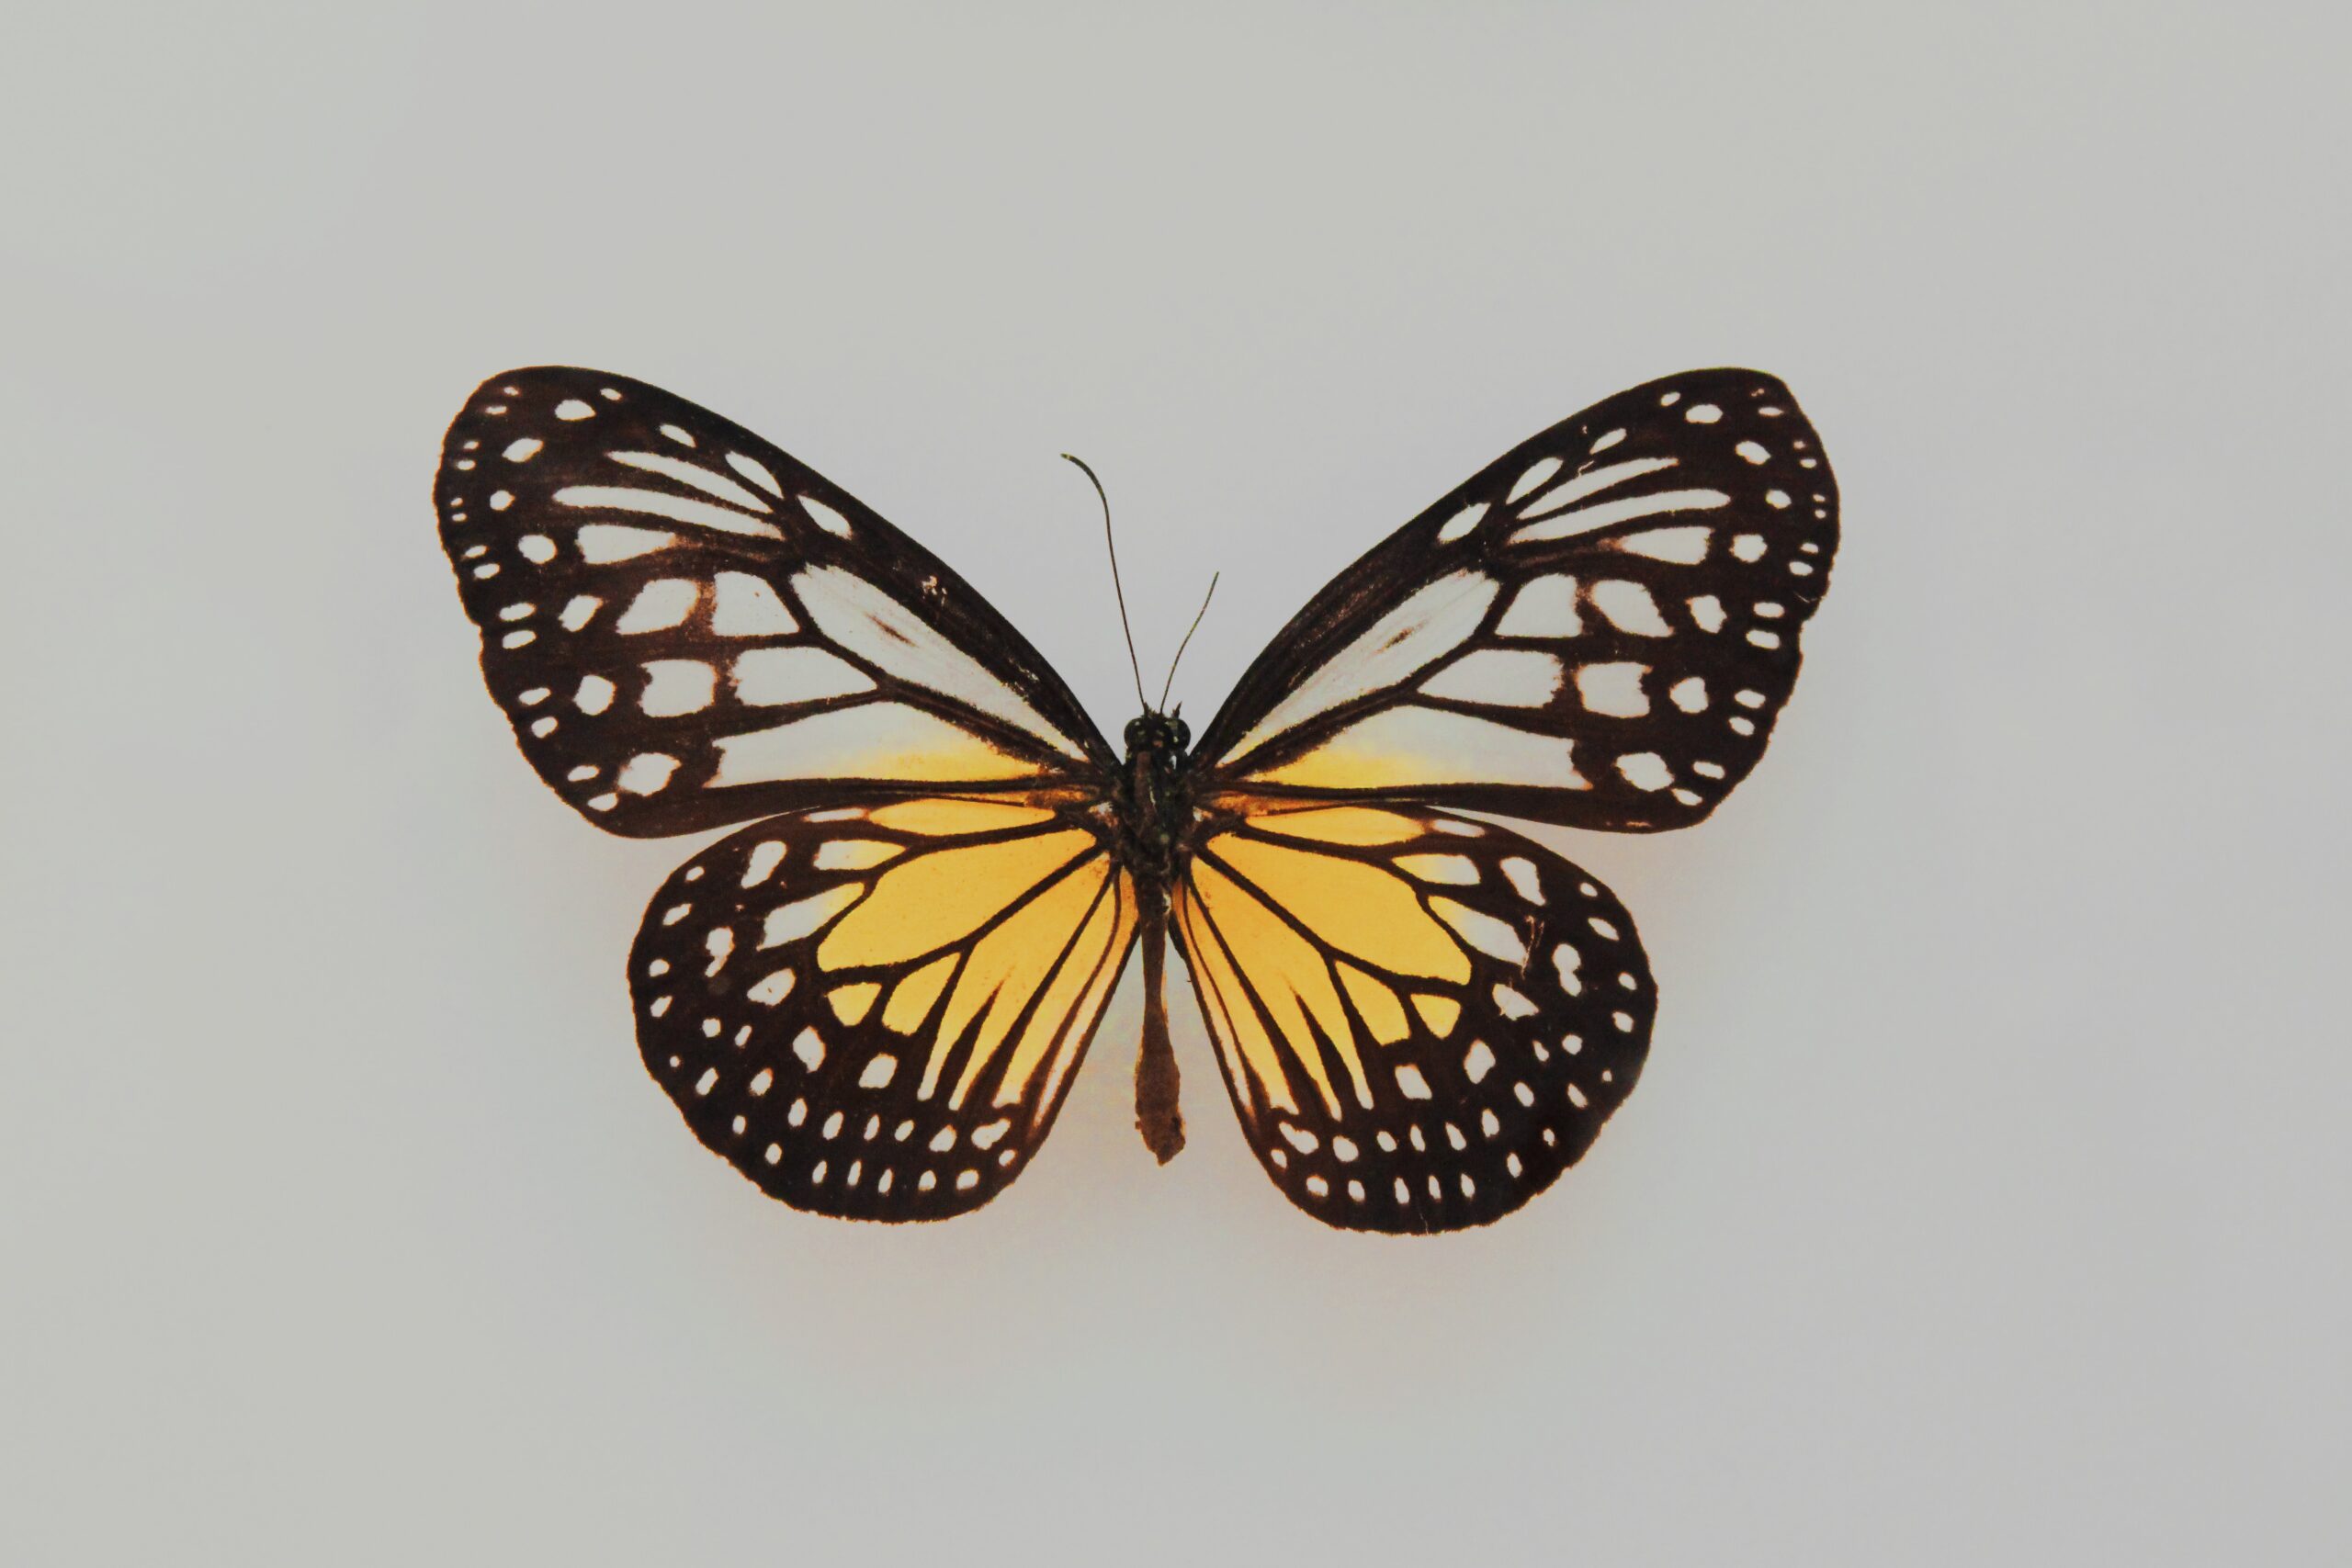
Introduction: Are you eager to unleash your inner artist and create stunning butterfly drawings with ease? Look no further! In this comprehensive guide, we will walk you through the process of butterfly drawing, making it not just easy but also an enjoyable experience. Whether you’re a seasoned artist or a beginner, follow our step-by-step instructions to create beautiful butterfly artwork. Let’s spread our creative wings and embark on this artistic journey.
- Materials You’ll Need
Before we dive into the world of butterfly drawing, gather these essential materials:
- Pencils: Start with a range of pencils, from 2H for light lines to 6B for darker shading.
- Paper: Opt for smooth, heavyweight paper that can handle various techniques.
- Eraser: Choose a soft eraser to correct mistakes without damaging the paper.
- Reference Images: Find pictures of butterflies to inspire and guide your drawing.
- Observation and Analysis
To draw a butterfly successfully, begin by observing its intricate details. Pay attention to the butterfly’s wings, body, and unique patterns. Analyze the symmetry, size, and proportions. This observational step will help you understand the subject better.
- Basic Shapes and Outlines
Start your drawing by creating basic shapes. Sketch two overlapping circles for the wings and a small oval for the body. These shapes will serve as the foundation for your butterfly.
- Adding Details
Now, let’s add the details that make your butterfly drawing come to life. Focus on the wings first, sketching out their outlines and any distinctive patterns you observed earlier. Use soft lines to maintain flexibility in your drawing.
- Shading and Texture
To add depth and dimension to your butterfly, incorporate shading and texture. Begin with the body, shading it lightly and gradually darkening where needed. For the wings, use your reference images to replicate the patterns and textures accurately.
- Highlights and Contrast
Enhance your butterfly drawing by creating highlights. Identify the source of light and add lighter tones accordingly. This contrast will make your butterfly pop off the page.
- Final Touches
With the majority of your drawing complete, focus on any finishing touches. Refine the outlines, erase any unnecessary lines, and add extra details if desired. This step will bring your butterfly drawing to perfection.
- Coloring Your Butterfly (Optional)
If you wish to add color to your drawing, choose soft-colored pencils or watercolors. Apply the colors lightly, gradually building up layers for a vibrant and realistic appearance.
- Presentation Matters
To showcase your masterpiece, consider framing or mounting your butterfly drawing. Proper presentation can elevate the overall impact of your artwork.
- Practice Makes Perfect
Remember, the key to mastering butterfly drawing is practice. Continue honing your skills by drawing different butterfly species and experimenting with various techniques.
Conclusion and butterfly drawing easy
Drawing a butterfly may seem challenging, but with our step-by-step guide, it becomes an achievable and enjoyable artistic endeavor. By focusing on observation, basic shapes, details, shading, and texture, you can create beautiful butterfly drawings with ease. Don’t forget to practice regularly and, most importantly, have fun on this creative journey. Start drawing your own easy butterflies today and watch your artistic skills take flight!


