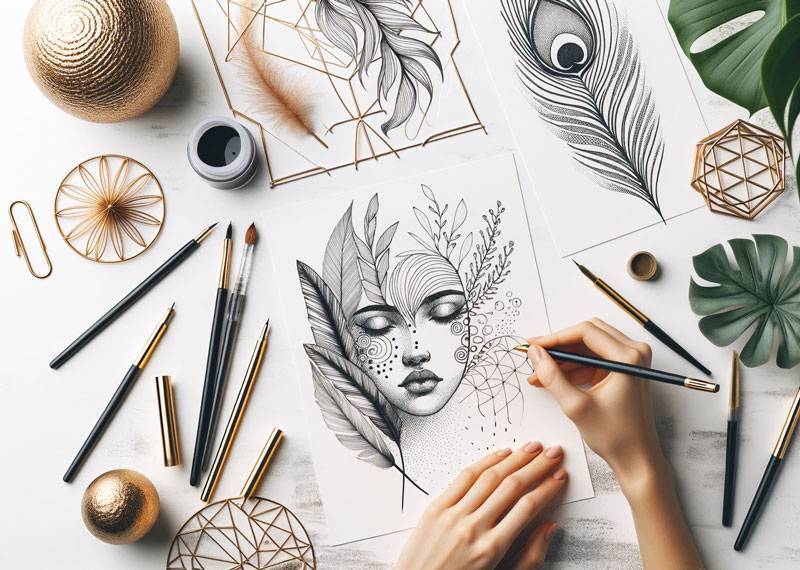
Introduction: When it comes to capturing the essence of the Wild West, there’s no better symbol than a cowboy hat. Whether you’re an aspiring artist or just looking for a creative outlet, learning to draw a cowboy hat can be a rewarding and enjoyable experience. In this comprehensive guide, we will walk you through the process of cowboy hat drawing, from selecting the right materials to adding intricate details. So, saddle up and let’s embark on this artistic journey together!
Gathering Your Supplies
Before you begin drawing your cowboy hat, it’s essential to have the right tools at your disposal. Here’s what you’ll need:
- Pencils: Start with a set of high-quality pencils in various hardness levels (e.g., 2H, HB, 2B).
- Erasers: Invest in a kneaded eraser for precise corrections and a standard eraser for broader areas.
- Paper: Choose a smooth, heavyweight paper to prevent ink bleed and allow for better shading.
- Reference Image: Find a clear image of a cowboy hat to use as a reference throughout your drawing.
Sketching the Basic Shape
Begin by lightly sketching the basic shape of the cowboy hat. Start with an oval for the crown and a wide-brimmed arc beneath it. This initial sketch will serve as your framework and guide for the rest of the drawing.
Adding Dimension and Structure
To make your cowboy hat drawing more realistic, focus on adding dimension and structure. Use a softer pencil (e.g., 2B) to emphasize the shadows and contours. Pay attention to the curvature of the brim and the creases on the crown.
Detailing the Band
Now, let’s add some character to your Rancher hat by drawing the band. Use your reference image to replicate the pattern or design on the band accurately. Remember to use light, controlled strokes to maintain precision.
cowboy hat drawing: Perfecting the Details
The devil is in the details, and this step is where your Rancher hat drawing will truly shine. Pay close attention to the stitching, texture, and any embellishments on the hat. Transition smoothly between sections to create a cohesive look.
cowboy hat drawing: Shading and Texture
To give your drawing depth and texture, use cross-hatching and stippling techniques. These methods will help you create realistic shadows and a three-dimensional appearance. Remember that patience is key when working on shading.
cowboy hat drawing: Fine-Tuning with Highlights
Highlighting is the final touch that makes your Rancher hat drawing pop. Use a kneaded eraser to gently lift off some graphite in areas where light would naturally hit the hat. This will create a sense of depth and realism.
Conclusion
In conclusion, mastering the art of Rancher hat drawing is a rewarding endeavor that allows you to capture the spirit of the Wild West with a pencil and paper. By following this step-by-step guide and paying attention to detail, you can create stunning cowboy hat drawings that impress and inspire. So, grab your supplies, find your reference image, and embark on this artistic journey to create the perfect Rancher hat drawing.